
The Mushroom Tent I Would Build Today (If I Were Starting From Scratch)
This post may contain affiliate links. If you purchase through these links, I may earn a small commission at no additional cost to you. As an Amazon Associate, I earn from qualifying purchases. I only recommend products, services, and resources that I personally use, trust, or believe may provide value to my readers.
•••
When I first got into growing gourmet mushrooms, I made the same mistake most people do.
I tried to save money by piecing together equipment, modifying parts, replacing things that didn't work well enough, and constantly tweaking the setup. Every change made the system a little better, but it also meant spending more money in the long run.
If I were starting over today, I wouldn't buy the cheapest setup or the ultra-expensive kit—I would buy the simplest one.
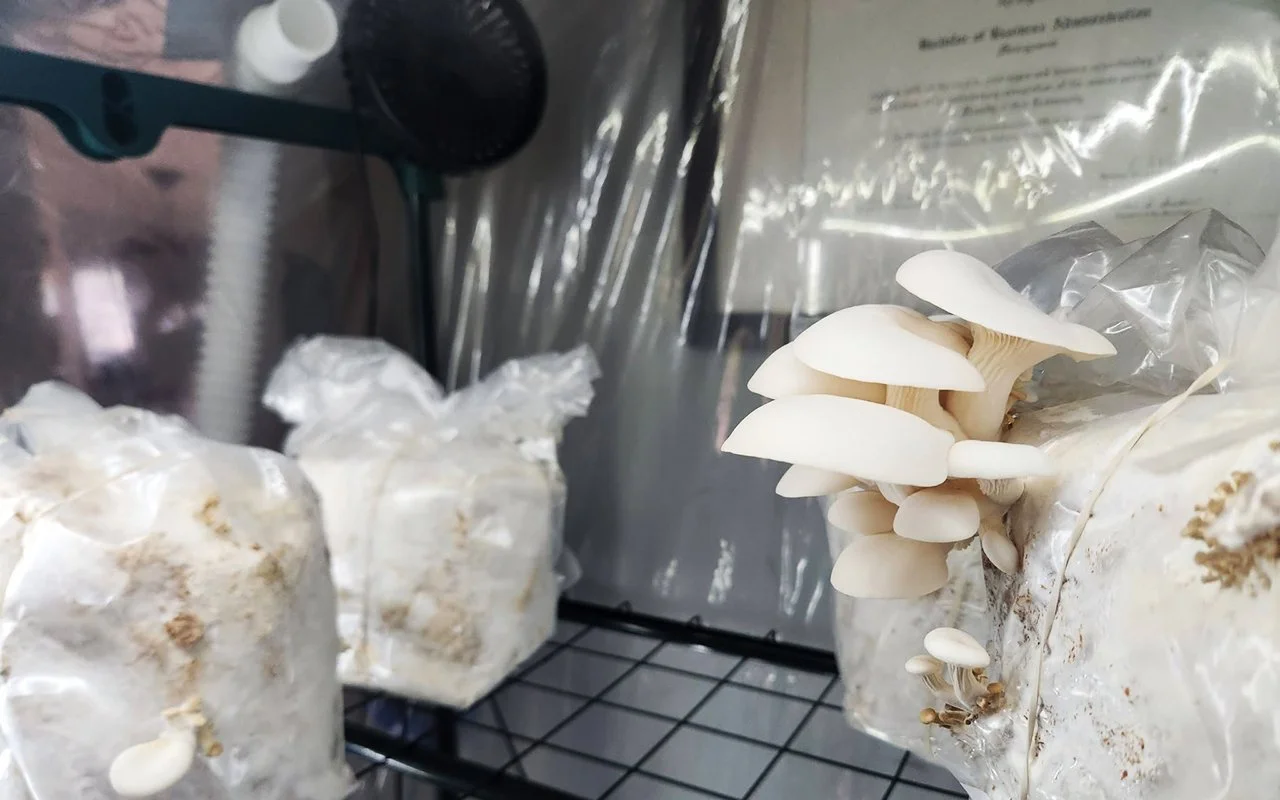
Below is the exact one-tent fruiting room I would build if I had to start from zero. It's designed for small-scale growers who want something reliable, easy to maintain, and capable of producing enough mushrooms for a weekly farmers market or home use without constantly fighting humidity, fresh air exchange, or water pooling.
The Tent
Everything starts with a sturdy frame.
I would use the KOL 27" × 19" × 76" PVC 5-Tier Mini Greenhouse. It's inexpensive, easy to assemble, and the footprint is just about perfect for a single Martha tent setup.
Unlike many smaller hobby tents, this one gives enough vertical space for multiple shelves while still fitting inside a spare room, garage, or basement.
Protect the Bottom First
If you value your floor, add a proper drip tray.
Instead of letting water collect on the floor or trying homemade solutions, I'd install the Heavy Duty Ecosphere Drip Liner from Midwest Grow Kits.
It catches condensation, protects your floor, and makes cleanup take seconds instead of becoming a weekly chore.
Fresh Air Exchange Without Guesswork
Fresh air exchange is one of the hardest things for new mushroom growers to balance.
Too little air leads to long stems and poor growth.
Too much dries everything out.
Rather than experimenting with DIY fans and ductwork, I'd simply install the Fresh Air Amplifier Fan Unit from Midwest Grow Kits. It provides consistent fresh air without overcomplicating the system.
Inside the tent, I'd also clip in a 5.5-inch greenhouse circulation fan.
This fan isn't there to blast mushrooms with wind.
Its job is simply to keep air moving so the lower shelves receive the same fresh air as the top shelves and humidity stays evenly distributed throughout the tent.
Humidity That Runs Itself
One of the biggest quality-of-life improvements you can make is automating humidity.
I'd pair the Coospider 4.2L Top Fill Reptile Humidifier with the DIGITEN Humidity Controller.
Instead of constantly checking hygrometers and turning humidifiers on and off manually, the controller simply keeps humidity where you set it.
Less work.
More consistency.
Better mushrooms.
Actually Know What's Happening
Next up, I’d spend a little bit for an 8-in-1 Air Quality Monitor.
Besides temperature and humidity, it tracks carbon dioxide, air quality, VOCs, and other environmental conditions that help explain why mushrooms are behaving the way they are.
It's one of those tools you don't think you need until you have one. They aren’t perfect at reading high-humidity environments, but it’ll ideally get you a reading of 100 PPM for your CO2.
Lighting Doesn't Need To Be Fancy
Contrary to what many people believe, mushrooms don't need expensive grow lights.
A simple 3000K COB LED strip mounted vertically around the inside of the tent provides plenty of light for healthy fruiting while using very little electricity.
No giant fixtures.
No excessive heat.
Just enough light for the mushrooms to know which direction to grow.
Power Management
You'll quickly discover that mushroom growing uses more plugs than expected.
Humidifier.
Fans.
Lights.
Controllers.
Timers.
I'd use a quality surge-protected power strip outside the tent where everything stays organized and away from moisture.
For lighting, I'd add a simple 24-hour mechanical outlet timer so the LEDs automatically follow a daily schedule without requiring another digital controller.
A Simple Trick That Improved My Tent
One inexpensive modification I'd absolutely do again is creating vent openings and covering them with medical surgical tape.
It sounds odd.
But the breathable material works surprisingly well as a basic filter while still allowing passive fresh air movement into the tent.
It's inexpensive, easy to replace, and helped create a much more consistent environment than leaving the openings exposed.
Why I Recommend Spending a Little More Up Front
Looking at this list, it probably seems like a lot.
And honestly...
It is. Roughly about $300+
But here's what I've learned after building and rebuilding fruiting setups:
Buying the right equipment once is almost always cheaper than buying the wrong equipment twice.
Every upgrade on this list solves a problem that I eventually encountered anyway—whether it was uneven humidity, poor airflow, standing water, messy wiring, or constantly adjusting equipment.
If I totaled everything I bought while learning, I spent considerably more than I would have by simply starting with this setup.
If your goal is to grow gourmet mushrooms consistently without feeling like you're constantly troubleshooting, this is the one-tent fruiting room I'd build today.
Hopefully it saves you some of the trial and error that I went through—and lets you spend more time harvesting mushrooms instead of fixing equipment.
Happy growing!
Affiliate Disclosure
Some of the links on this website are affiliate links. This means that if you click on a link and make a purchase, I may receive a commission at no additional cost to you.
As an Amazon Associate, I earn from qualifying purchases. I may also participate in other affiliate programs that provide compensation when products or services are purchased through links on this website.
My goal is to provide honest opinions, recommendations, and information. Any compensation received through affiliate programs does not influence the content, topics, or products I choose to feature. I only recommend products, services, and resources that I personally use, have experience with, or believe may be valuable to my audience.
Your support through these affiliate links helps maintain this website and allows me to continue creating helpful content. Thank you for your support.
